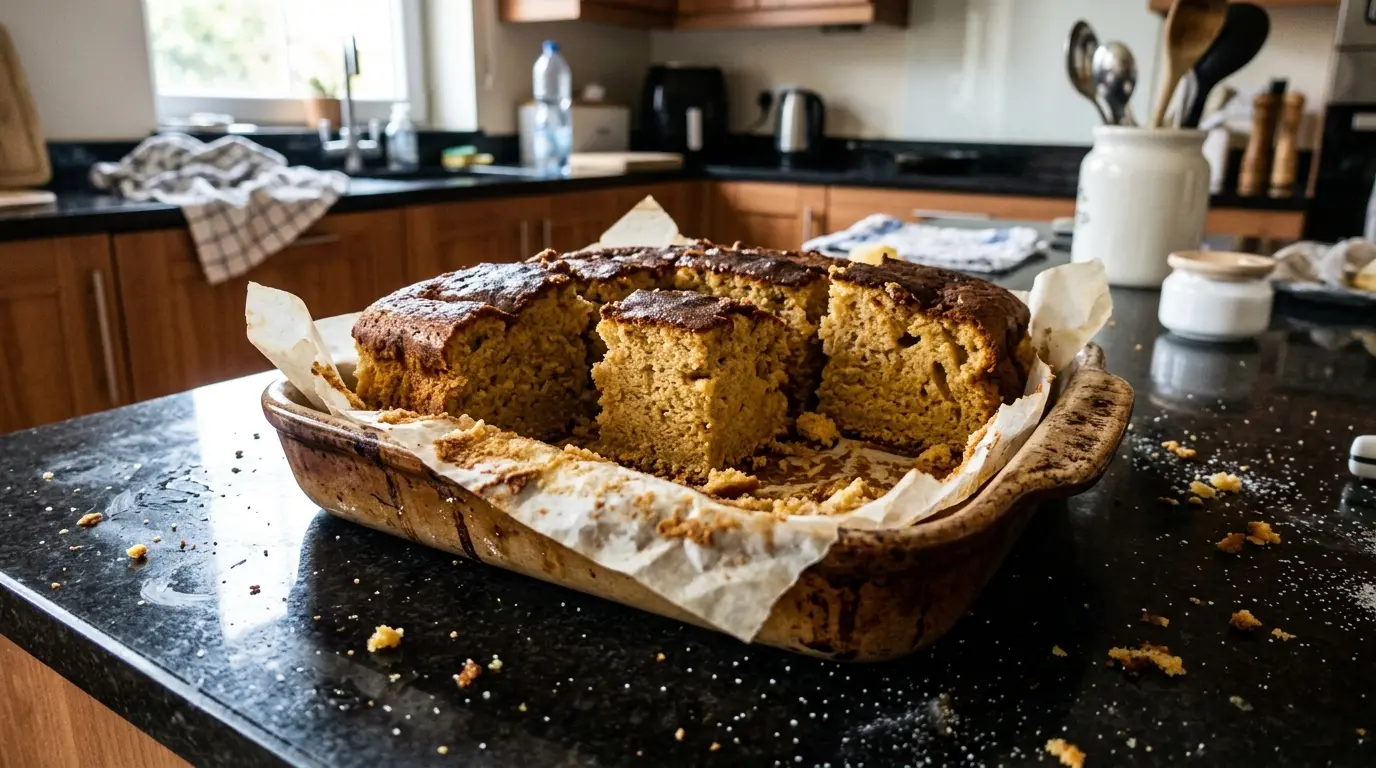
Kasutera – Japanese Honey Sponge Cake Recipe
Kasutera is a soft, moist sponge cake with honey that arrived in Japan thanks to Portuguese merchants in the 16th century. Today it is a popular sweet gift and tea-time treat, especially in the Nagasaki region. Its flavor is somewhat like a cross between sponge cake and pound cake, but with a denser, springier texture.
Prep Time
25 min
Cook Time
45 min
Total Time
70 min
Servings
10
Ingredients
- egg - 4 piece
- sugar - 160 g
- honey - 40 g
- milk - 60 ml
- wheat flour - 140 g
- oil - 20 ml
- salt - 1 pinch
- baking paper
Main Ingredient:
egg
Preparation
- Preheat the oven to 160°C (top and bottom heat). Line a loaf pan about 25 cm long carefully with baking paper, so that the paper sticks out slightly above the edges.
- Gently warm the milk (it should be lukewarm, not hot) and mix it with the honey and oil until combined.
- Sift the flour into a bowl and add a pinch of salt.
- Crack the eggs into a large bowl and add the sugar. Beat with a mixer on high speed for 8–10 minutes, until the mixture is very pale, thick, and has increased in volume several times. When you lift the whisk, the batter should fall in a wide ribbon and leave a trace on the surface for a moment.
- Reduce the mixer speed to low and, in a thin stream, pour in the milk and honey mixture, mixing briefly just until combined.
- Set the mixer aside. Add the flour to the egg mixture in batches, gently folding with a wide spatula from the bottom up, trying not to deflate too much air.
- When the batter is smooth, pour it into the prepared pan. Tap the pan lightly on the counter a few times to remove larger air bubbles.
- Place the pan in the preheated oven and bake for 40–45 minutes, until the top is golden brown and a skewer inserted in the center comes out dry.
- After baking, remove the pan from the oven and drop it gently onto the counter from a height of a few centimeters 1–2 times – this helps keep the cake’s texture even.
- Lift the cake out of the pan using the baking paper, turn it upside down onto a clean board, and leave to cool completely under a kitchen towel so it doesn’t dry out.
- When the cake is completely cool, wrap it tightly in plastic wrap and leave it for a few hours or overnight – after this time it will be more moist and aromatic.
- Before serving, cut the kasutera into slices about 2 cm thick, trimming off thin edges if they are very dark.
- tips": { "storage": "Always wrap the cake tightly in plastic wrap so it doesn’t dry out – this is the key to its characteristic moistness.", "serving": "Serve slices of kasutera with green tea or coffee, as a dessert after a meal or a sweet addition to afternoon tea. For a more festive version, serve it with whipped cream and fresh fruit.", "variations": [ "Add a teaspoon of vanilla extract to the batter for a more dessert-like aroma.", "Replace part of the flour (about 20 g) with cocoa powder to make a chocolate version.", "Dust the top of the cake with a thin layer of powdered sugar just before serving." ] }, "leftovers": { "notes": "Store the cake well wrapped at room temperature for 1–2 days, or in the fridge for up to several days. Bring to room temperature before serving so it regains its soft, moist texture. You can also freeze slices individually wrapped in plastic wrap and then in a bag; thaw in the fridge or at room temperature." }, "tags": [ "cake", "sponge cake", "honey", "dessert", "japanese cuisine" ], "whySpecial": "Kasutera is a classic example of how foreign influences become deeply rooted in local tradition. Although it came to Japan with Portuguese merchants, over the centuries it has become a symbol of Nagasaki and a popular gift cake. Its texture – at once springy, fine-crumbed, and very moist – sets it apart from typical European sponge cakes.", "authorTips": "The key to a successful kasutera is perfectly whipped eggs – don’t shorten the beating time, and make sure the mixture is very light and thick. Fold in the flour gently so you don’t lose the air you’ve incorporated. If your oven tends to brown strongly, you can loosely cover the cake with a sheet of baking paper towards the end of baking.", "servingSuggestions": "Serve kasutera in neat, even slices, optionally with a little whipped cream and fresh berries or sliced strawberries. It pairs beautifully with green tea (especially matcha or sencha), but also with black tea or coffee. For a dessert plate, you can add a scoop of vanilla ice cream and a drizzle of honey.", "personalNote": "I love how simple the ingredient list is compared to how refined the result feels. Kasutera tastes best the next day, when it has had time to rest – so it’s a great make-ahead cake for guests or as an elegant homemade gift.", "seoKeywords": [ "kasutera recipe", "japanese honey sponge cake", "nagasaki castella cake", "japanese dessert", "moist sponge cake", "honey cake japanese", "castella kasutera", "easy japanese cake" ] } ] }```}```
Storage
No storage information available for this dish.
Recipe submitted by
Marek, Site owner
Published:
Updated:
Oceń przepis
Average:
(0 ratings)
Komentarze
0
Ładowanie komentarzy...