Kimchi bokkeumbap – fried rice with kimchi and egg Recipe
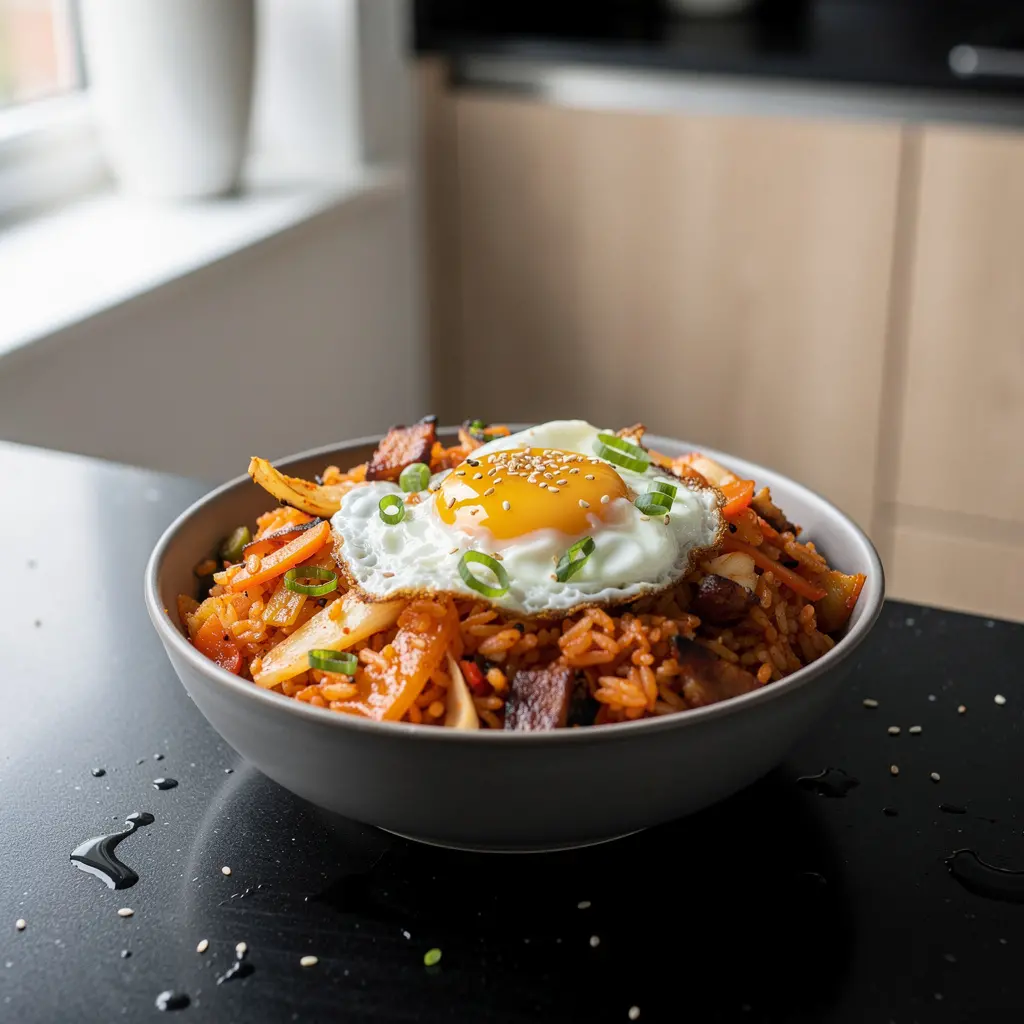
Kimchi bokkeumbap is a go-to rescue meal in many Korean homes – perfect when you have some leftover rice and a jar of kimchi in the fridge. With just a few ingredients you get a bowl full of flavor that’s ideal for a quick after-work dinner. On top goes a fried egg with a runny yolk that mixes into the rice and gives it a creamy texture.
This kimchi bokkeumbap turns simple leftovers into a deeply flavorful, comforting meal in minutes. The combination of tangy, spicy kimchi, smoky bacon and creamy egg yolk gives the rice a rich, layered taste and satisfying texture, without needing many ingredients or complicated techniques.
Chef's tips
Use day-old, chilled rice if you can – it stays separate and fries better than freshly cooked rice. If your kimchi is very sour and mature, start with less kimchi juice and adjust to taste so the dish doesn’t become too sharp. Don’t overcrowd the pan: if you’re making a large batch, fry the rice in two rounds so it can toast slightly instead of steaming.
How to serve
Serve the kimchi fried rice piping hot with extra kimchi on the side and a drizzle of toasted sesame oil if you like. It pairs well with a simple miso or clear broth soup and quick pickles such as cucumber or radish. For more protein, add a side of grilled tofu, chicken or Korean-style marinated beef.
Ingredients
- rice - 300 g
- kimchi - 150 g
- onion - 0.5 piece
- carrot - 0.5 piece
- bacon - 60 g
- oil - 2 tablespoon
- sesame oil - 1 tablespoon
- gochujang paste - 1 tablespoon
- soy sauce - 1 tablespoon
- egg - 2 piece
- chives - 2 tablespoon
- garlic - 2 clove
- oil - 1 tablespoon
- sesame seeds - 1 tablespoon
Preparation
- If you’re using freshly cooked rice, spread it out on a plate and let it steam off slightly for 10–15 minutes so it’s not too wet.
- Lightly squeeze the excess juice out of the kimchi (reserve the juice), then chop the cabbage into smaller 1–2 cm pieces.
- Dice the onion finely, cut the carrot into thin matchsticks or small cubes, slice the bacon into small strips, finely chop the garlic, and slice the chives into thin rounds.
- Heat 2 tablespoons of oil in a large frying pan or wok over medium-high heat, add the bacon and fry for 3–4 minutes until the fat renders and the pieces are lightly browned.
- Add the onion and carrot and fry for 3–4 minutes, stirring often, until the onion softens and turns slightly translucent and the carrot starts to soften.
- Add the garlic and chopped kimchi and fry for another 2–3 minutes, until you smell an intense, slightly sour aroma and the kimchi softens a little.
- Reduce the heat to medium, add the rice and break up any clumps with a spoon or spatula, stirring vigorously for 2–3 minutes until the rice is well heated through.
- Add the gochujang paste, soy sauce, sesame oil and 1–2 tablespoons of kimchi juice, stirring until the rice is evenly coated in the sauce and turns an orange-red color.
- Taste and, if needed, season with extra soy sauce or a little more gochujang paste; finally add half of the sesame seeds and half of the chives, mix and turn off the heat.
- In a separate pan, heat 1 tablespoon of oil over medium heat, crack in the eggs and fry for 3–4 minutes until the whites are fully set but the yolks remain runny; you can lightly salt them.
- Transfer the hot rice to bowls, place a fried egg on top, sprinkle with the remaining chives and sesame seeds, and serve immediately, mixing the yolk into the rice just before eating.
Storage
No storage information available for this dish.
This is one of those dishes that feels like a warm hug after a long day: minimal effort, maximum flavor. I love how the runny egg yolk transforms the rice into something almost creamy, and how each bite is a little different depending on whether you catch more kimchi, bacon or crispy rice from the bottom of the pan.